I have had A Gentleman in Moscow sitting on my shelf for what feels like forever. I recognized it at a used book sale and scooped it up for a dollar. But then it sat there. The size really intimidated me. When I was presented with an opportunity to partner with the Book Club Cookbook for their Book Blends Bash, I knew now was the time to push myself to read it!
Well, I’m mostly just disappointed I waited so long to pick Amor Towles’ novel up! It was really quite lovely — almost a 5-star read. In it, we follow Count Alexander Rostov, who is sentenced to house arrest by the Bolsheviks in the early 1920s. The rest of the story takes place in the Metropol, where the Count will be staying; to step out onto the street would mean being shot dead on the spot.
It was an interesting book to read during a pandemic, in which many of us have been quarantined — or at the very least, limiting social interactions — for most of the year now. I related to the Count in ways I may not have before. I was also really jealous of the varied life within the hotel, including what sounded like a pleasant piazza, an in-house barbershop and tailor, and of course, a lively restaurant and bar.
I wasn’t expecting the extensive cast of characters we get to know throughout the course of the novel. And I didn’t think I would enjoy the Count himself as much as I did. The story was well-paced and plotted, the characters rich and lovable. It definitely a book worth picking up and savoring.
Speaking of savoring, I knew going in that I had to make a dish that featured dill. It was obvious after a bit of research that Russians love dill, so I didn’t expect it to be a difficult task. However, the only dish that was mentioned that clearly featured dill was oroshka, a cold summer soup. No one wants a cold soup in December (I certainly didn’t), but it also uses fresh dill and I was trying to incorporate the dried herb. So, I had to get creative.
After a couple of key scenes that involved bread, I decided to take that route. Dried herbs work really well in the right bread, and I ended up finding a recipe for dill bread that sounded delicious. I added a teaspoon of dried dill weed but otherwise followed the recipe as written.
First, I dissolved yeast and some sugar in warm water and let it sit for 10 minutes. Meanwhile, I heated the cottage cheese on the stovetop until it was lukewarm.
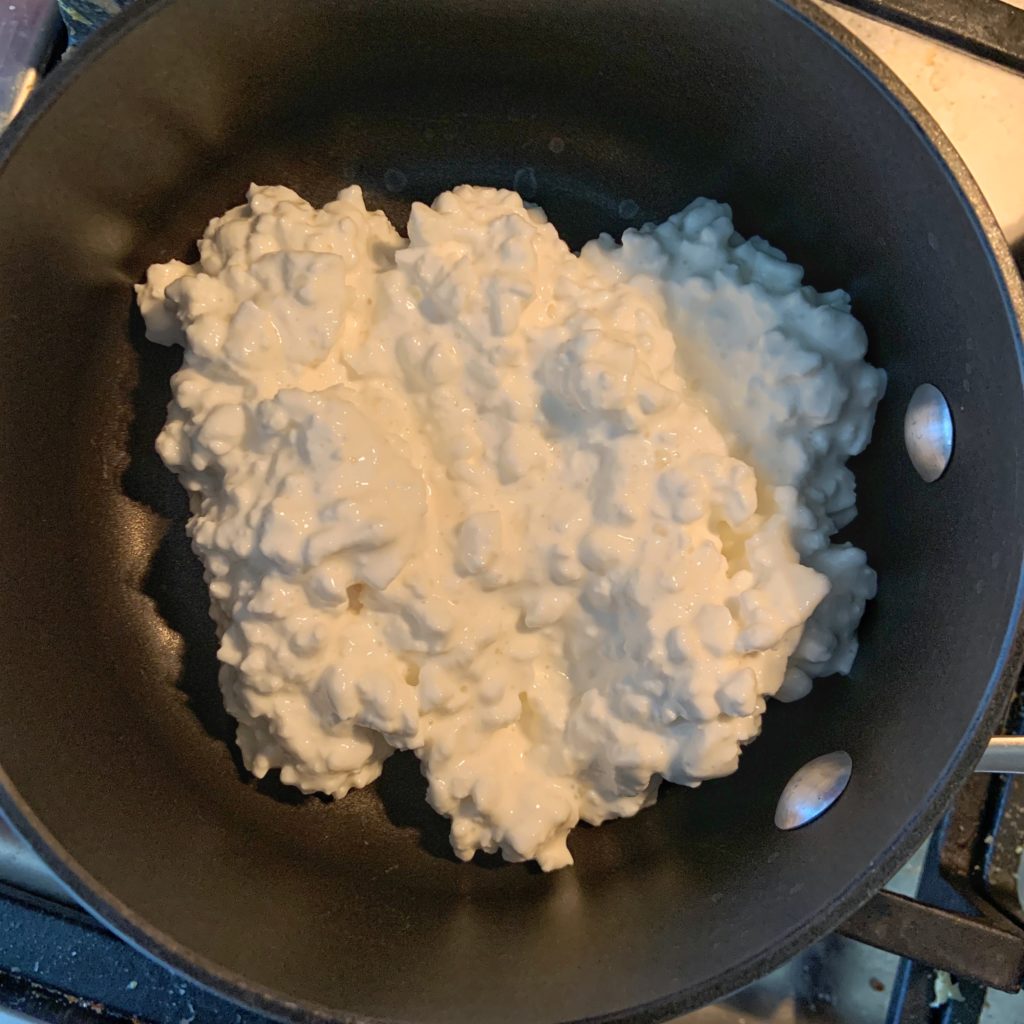
Then, I combined the cottage cheese with the yeast mixture, and added the rest of the ingredients.
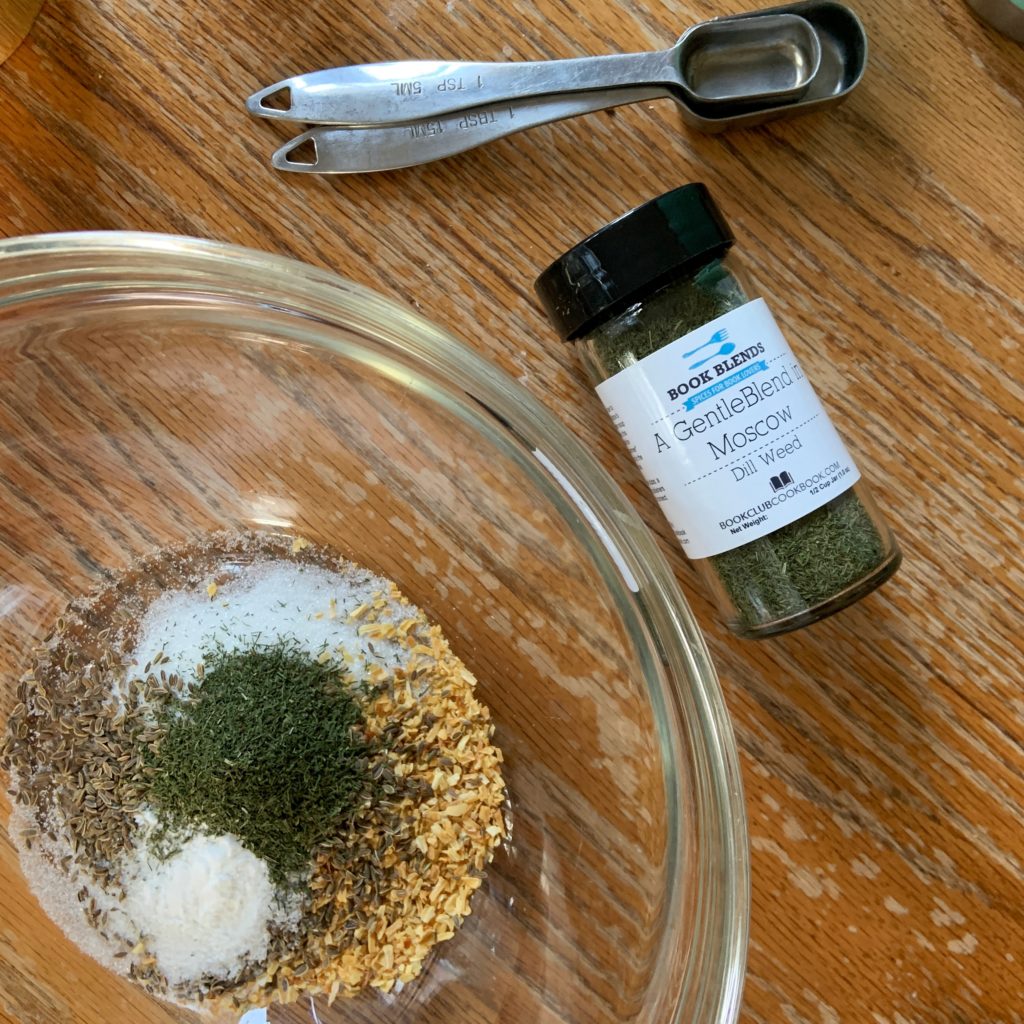
Once the ingredients were combined, I rolled the ball of dough around a buttered bowl to butter the dough too.
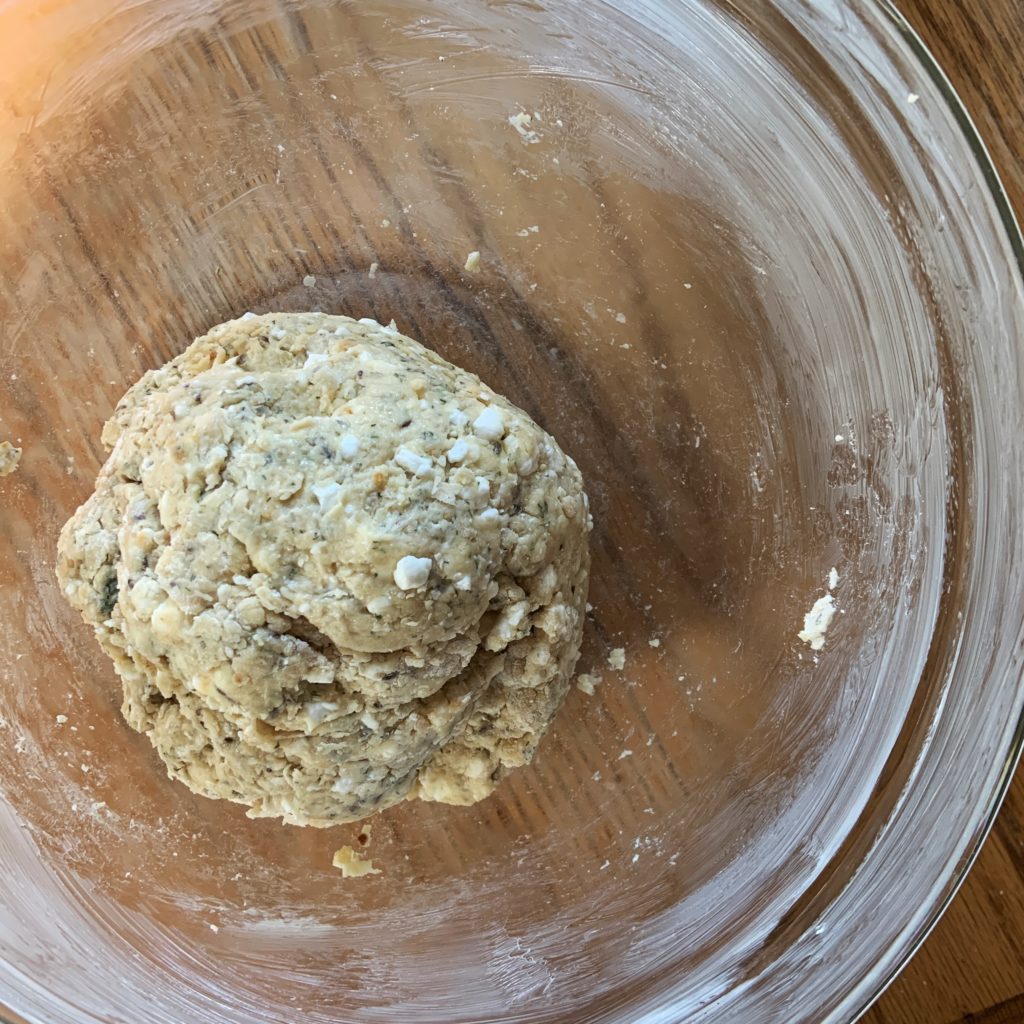
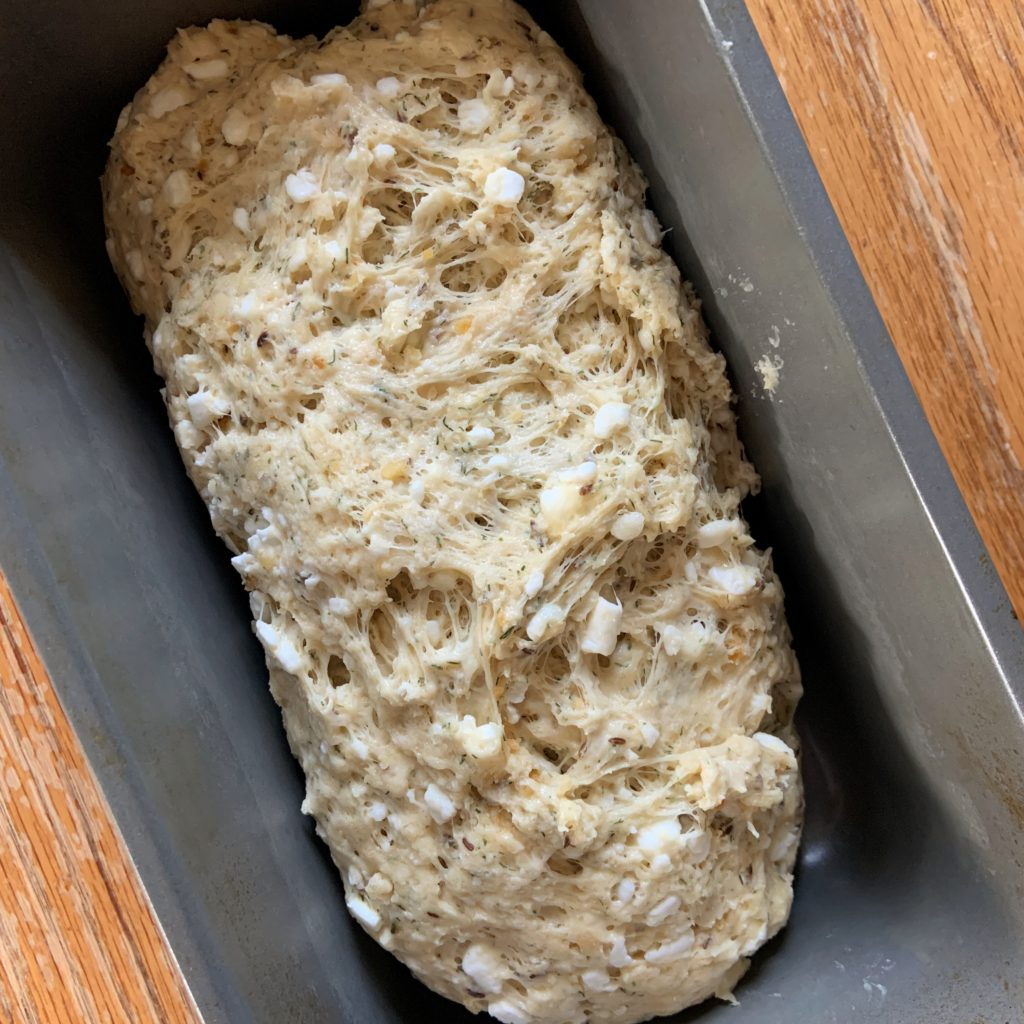
I covered the bowl and placed it in a warm place to rise for about an hour. Then, I shaped it into a large loaf and placed it in my loaf pan, where it was left to rise to double in size, about another hour. Admittedly, I don’t think I let it rise as much as I should’ve, but I was running out of time.
I placed it in a preheated oven to bake for about 45 minutes, until the top was golden brown. It smelled amazing as it baked. After letting it cool for about 5 minutes in the pan, I moved it to a wire rack to continue cooling. Then I brushed it with melted butter and sprinkled on some coarse sea salt (coincidentally also a book blend).
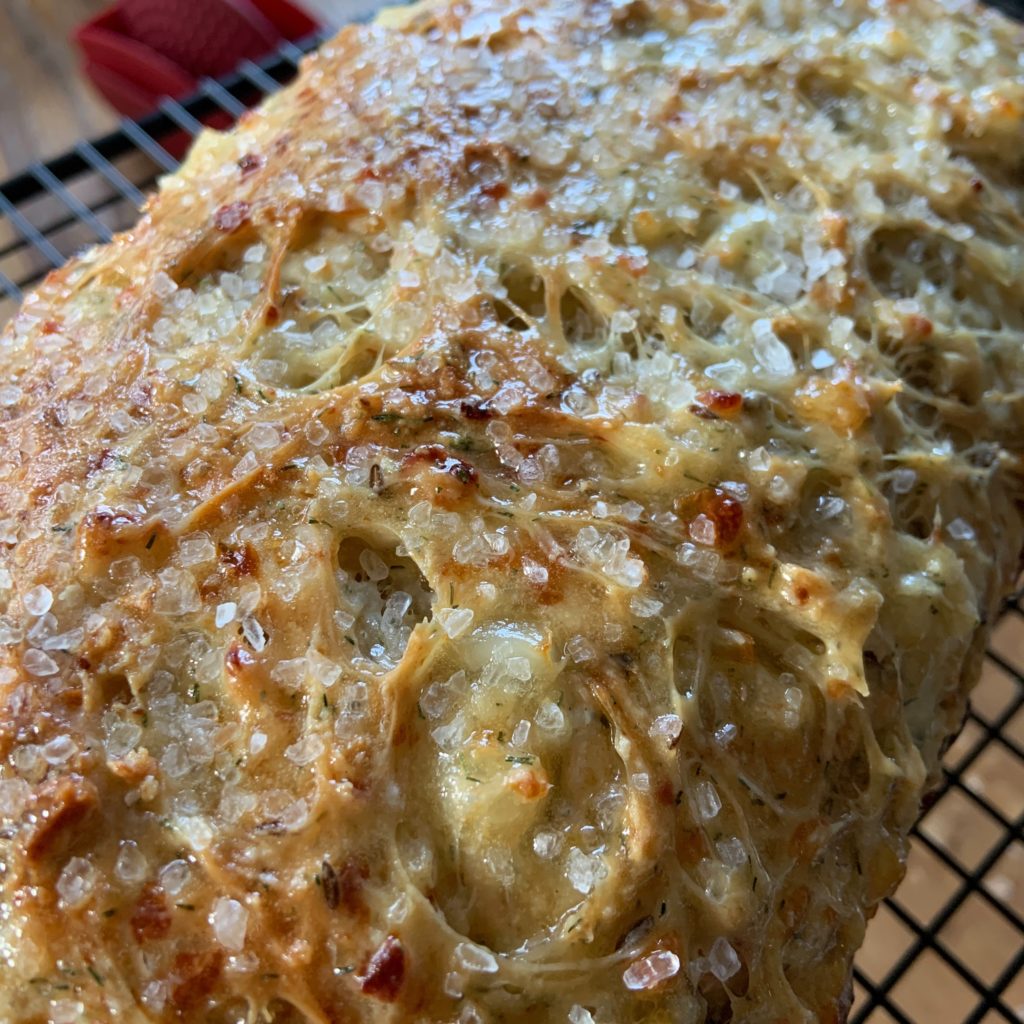
I let it cool further before cutting into it. Unfortunately, because I didn’t let it rise enough, it was a little "stodgy," as they’d say in the Great British Baking Show, but the flavor really came through. It is definitely a recipe I would try again — for a bread recipe, it’s really easy (no kneading!). and the dill really adds to an otherwise everyday bread.
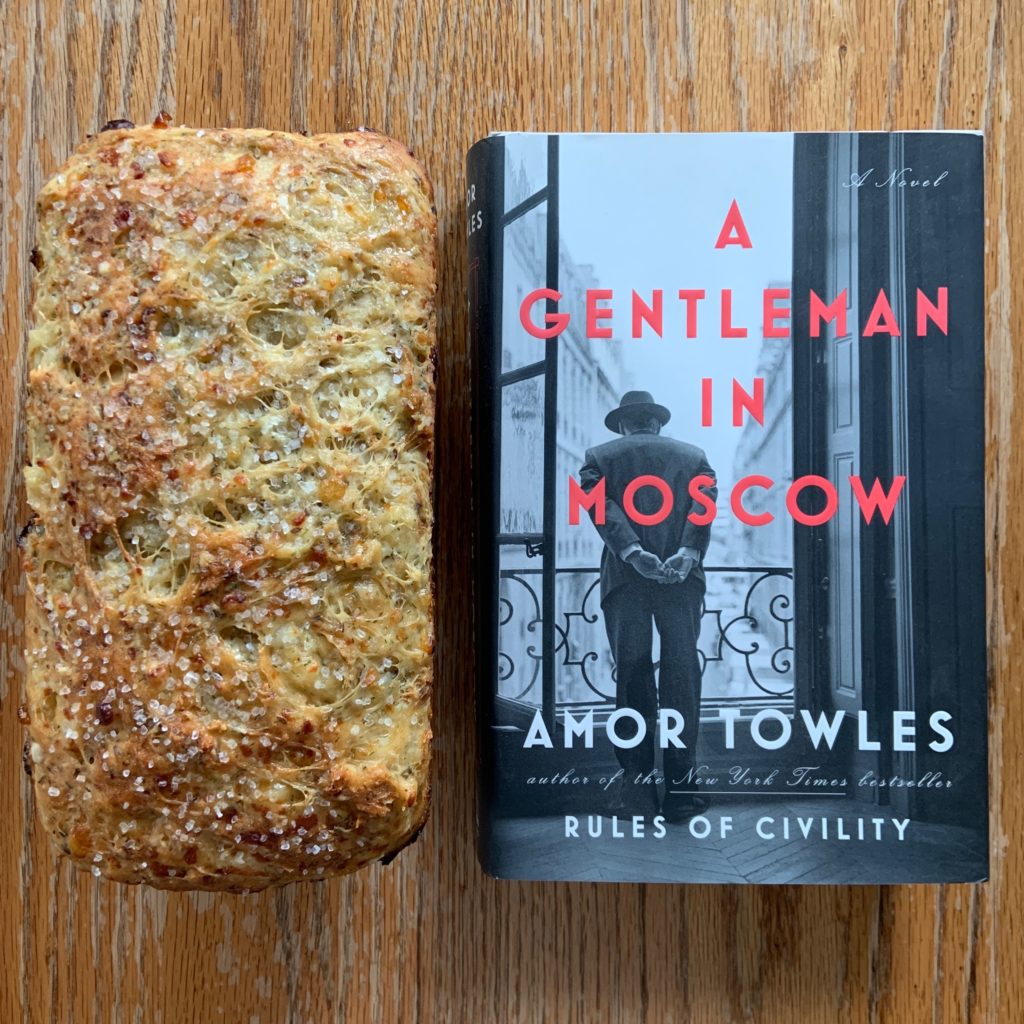
Dill Bread
Ingredients
- 1 package active dry yeast
- 1/2 teaspoon sugar
- 1/4 cup warm water
- 1 cup small curd cottage cheese
- 2 tablespoons sugar
- 1 tablespoon melted butter
- 1 tablespoon Minced dried onions
- 2 teaspoons dried dill seed
- 1 teaspoon dried dill weed
- 1 teaspoon salt
- 1/4 teaspoon baking soda
- 1 egg beaten
- 2 1/4 cups all-purpose flour
- butter for brushing on baked loaves
- coarse sea salt for sprinkling
Instructions
- Dissolve yeast and sugar in the warm water. Let it sit for 10 minutes until the foam on top is doubled in size.
- Heat the cottage cheese in a small pan to lukewarm.
- Combine the cottage cheese and the yeast mixture together.
- Add the remaining ingredients until combined.
- Butter a large bowl and place the dill bread dough. Roll the dough around the bowl to butter it.
- Place a dish towel over the bowl and set it in a warm place (microwave works great). Let the dough rise for about one hour or until it is doubled in size.
- Press the dough down and shape it into either one regular loaf size or three mini loaves.
- Place the shaped dough into the loaf pan(s). And again set them in a warm place, cover them with a dish towel and let them rise for another hour or until doubled in size.
- While the dough is rising for the second time preheat the oven to 350°F.
- Bake the regular sized loaf for 40-45 minutes or until golden brown. Bake the mini loaves for 25-30 minutes.
- Take out of the oven and let sit for no longer than 5 minutes in the pan(s). Remove the bread from the pan(s) and set them on a wire cooling rack.
- Brush lots of butter on the top and sides of the loaves. Sprinkle with coarse sea salt.
Notes
- Place the yeast mixture in a warm place (microwave works great) and let it sit for about 10 minutes or until the foam on top has doubled in size.
- If the yeast does not rise, it’s because the water was too hot or the yeast is old. If that’s the case, you will need to start over with new yeast. You don’t want the dough to rise beyond double because it stretches the gluten too much and will cause the end product to be tough.
- How can you tell if your dough has risen to its proper stage? Use the tip of your finger and make an indentation around the outside of the dough. If it bounces back about halfway, you know your dough is ready.
- Don’t let the baked loaves sit any longer than five minutes in the pan, otherwise, they sweat and produce condensation.
This post contains affiliate links. This does not increase the price you pay, but I may receive a small commission for any products you choose to buy. Purchases made through affiliate links help to cover my blogging costs. Thank you for helping to support The Hungry Bookworm! Full disclosure here.

Leave a Reply