Imagine my surprise when a few months ago, I came across another Hungry Bookworm blog since that’s my blog’s name! We bloggers introduced ourselves and I found out that she’s based in England, and where my blog was named to evoke a combination of food and books, hers was named after the beloved children’s book The Hungry Caterpillar. We decided to try our hand at a collaboration, reviewing the same book and posting our own thoughts. If you'd like to check out her post on this novel, go here. (If anyone’s visiting from Julie’s blog, welcome!)
I chose our first title, opting for a British book I had heard amazing things about: The Summer of Impossible Things by Rowan Coleman. It wasn’t easy to find over here in the states for free (fair warning, readers), but since it wasn’t in the library and I really wanted to give it a try, I bit the bullet and bought it from Amazon, which did have a few copies available. As you all know, I don’t usually buy books before knowing I like them, but I’m glad I took a chance on this one!
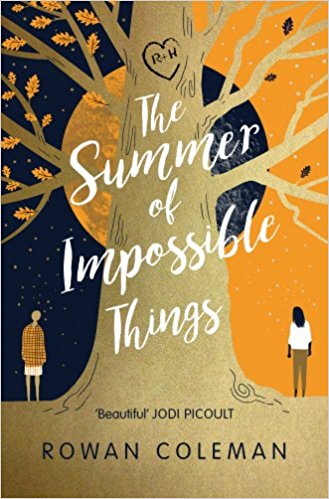
This book is along the lines of other “realistic time travel” love stories, as I call them - books like The Time Traveler’s Wife and movies like the lovely About Time - though it’s not exactly a traditional love story. If you’ve seen the movie Frequency, it’s more akin to that. Coleman’s novel is about a daughter’s seemingly impossible quest to save her mother - with a will and power she didn’t even realize she had.
I found this book to be very immersive, and though it’s a concept I’ve seen (and loved) in many other stories, I thought it was accomplished in its own unique way. I didn’t expect the love story that develops, but I quite enjoyed it. And not to give it away too much, but it was the inspiration behind the recipe I chose to make - at some point in 1977, our main character Luna stumbles into someone who works in (and I think eventually owns) an Italian bakery.
Though they’re not mentioned in the book, when I think of Italian pastries, I often think of the popular tri-color, or rainbow cookies, and their pop of color reminded me of the seventies. Instead of finding a recipe online, like I often do, I turned to a good friend (and fellow food lover), who graciously shared their family recipe with me. These cookies intimidated me, but I was assured they were very easy. My friend makes them every Christmas, and he’s right, I had no reason to be nervous about them.
First, I began with the almond paste and sugar, crumbling them together in the food processor. This recipe was the perfect opportunity to use some almond paste that I’d made myself, primarily because I couldn’t find it in the store when I looked for a previous recipe, but I’m told it’s not that hard to find. (Perhaps I was looking in the wrong spot, but if you have the same problem, it is quite easy to make; recipe link below.)
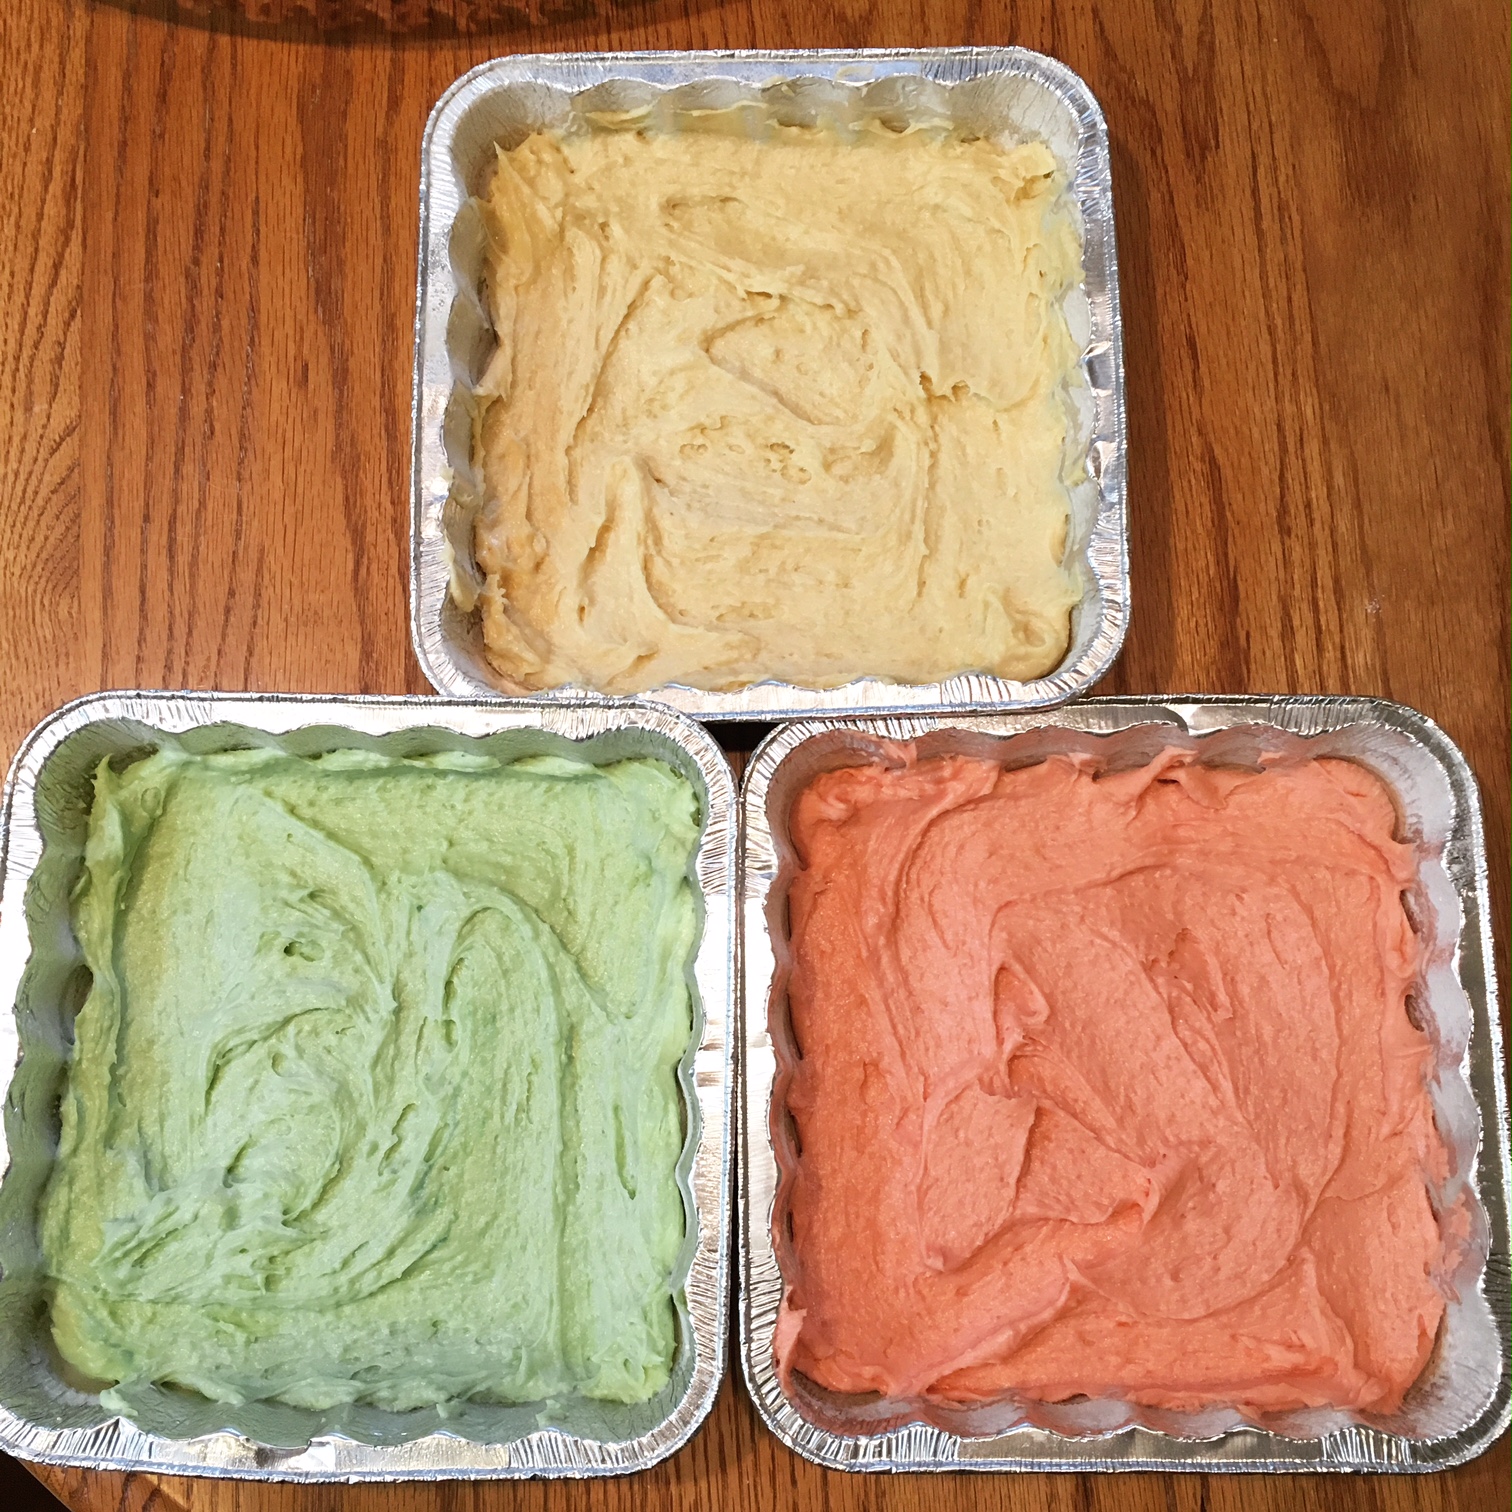
Then, I transferred my almond paste and sugar mixture to a bowl and beat in the softened butter (2 sticks). I also beat in the eggs, 1 at a time, making sure it was well-blended before I stirred in the flour. It was time to color the batter, so I split my batter into 3 different bowls and, using food coloring, colored one of the bowls pink and one of the bowls green. The third bowl remained uncolored.
I spread each batter evenly in its own pan before popping into a preheated 350 degree F oven for about 11 minutes.
While the layers baked, I made the chocolate glaze by heating semi-sweet chocolate and heavy cream in the microwave. I then set it aside to cool. I also heated the raspberry jam (my preferred flavor, but you can use apricot instead) in a small saucepan until it was smooth and spreadable.
I turned each layer out onto the cooling rack, and once it had cooled a bit and was no longer warm to the touch - about 10 to 15 minutes - I began assembling the final cookie. Green layer goes on the bottom.
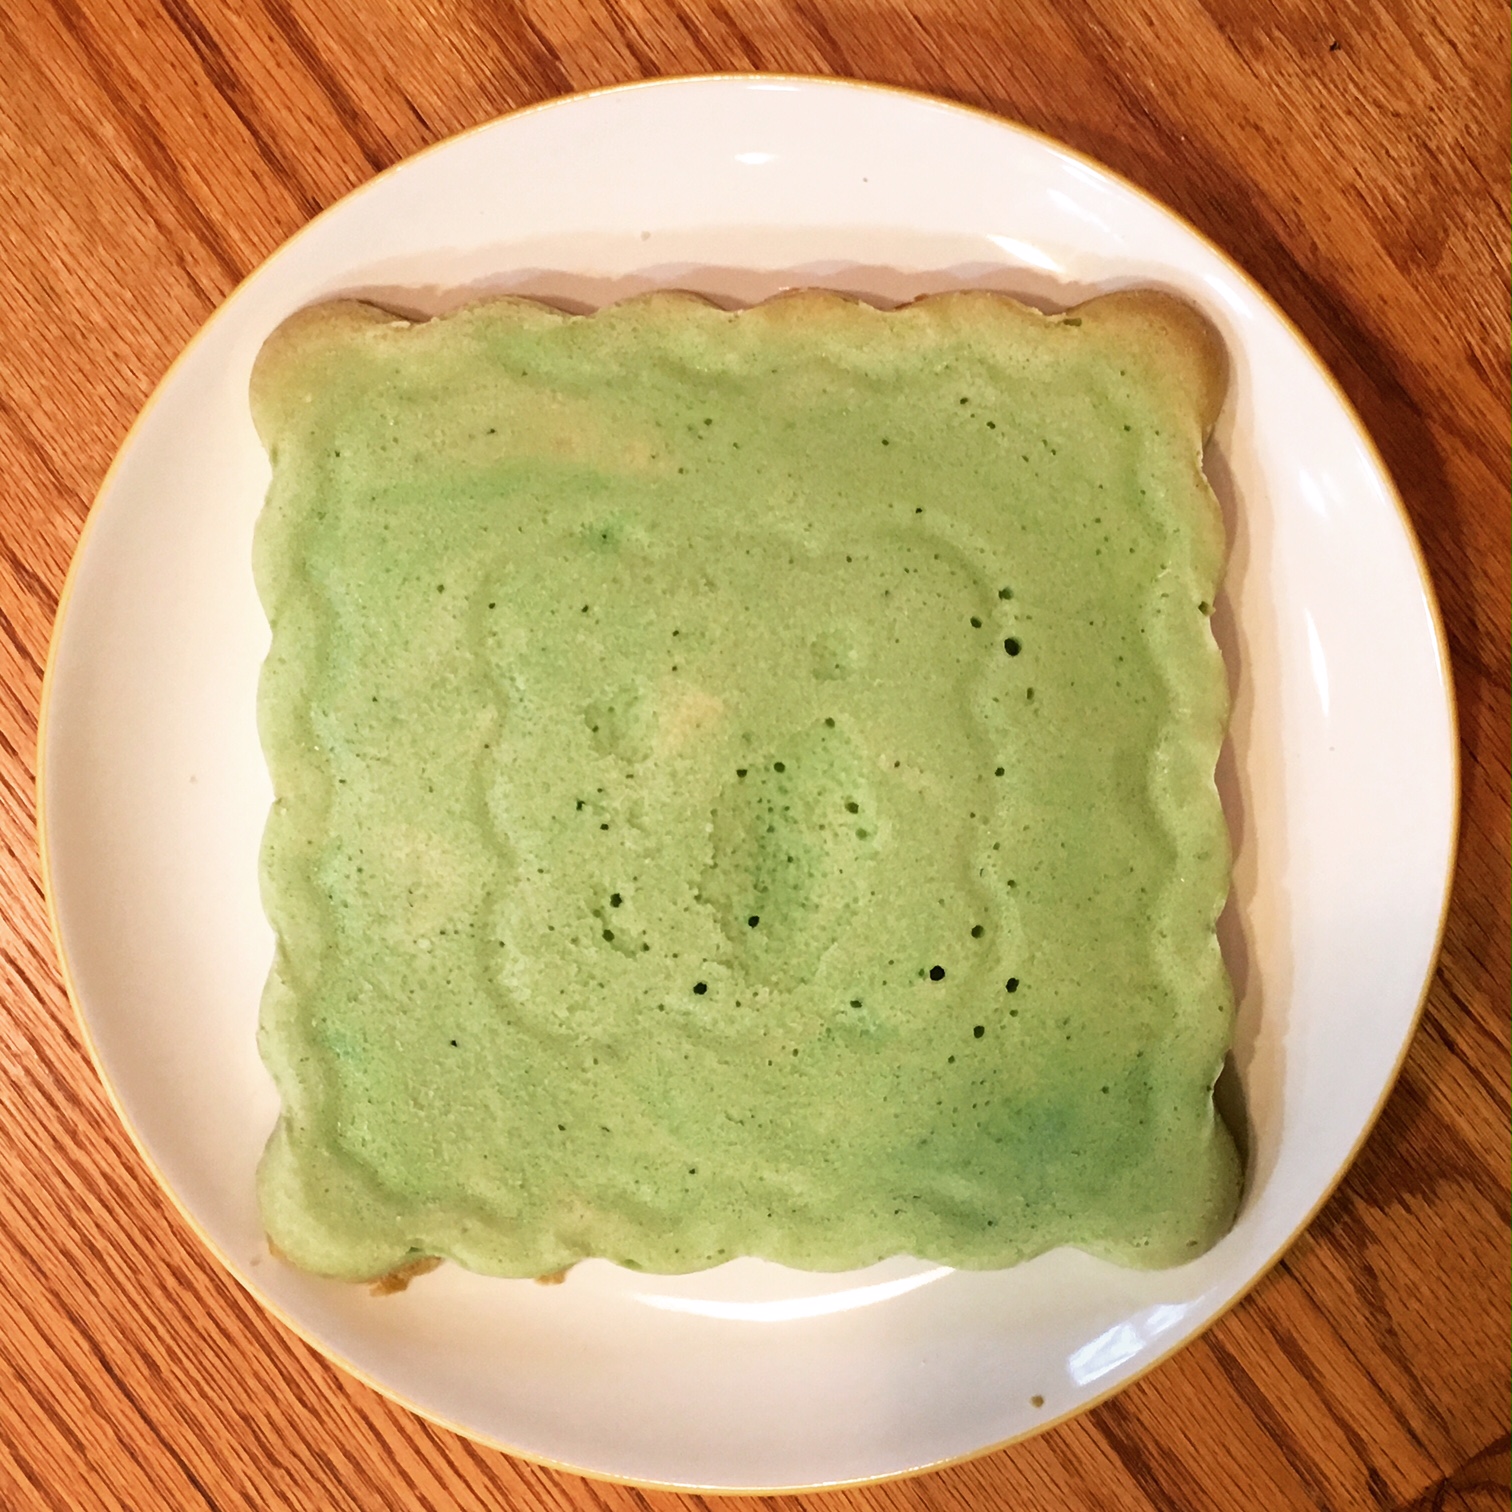
I spread about half of the jam (I heated approximately a cup) on top of the green, added the white layer, pressed gently, and spread the rest of the jam on top of that.
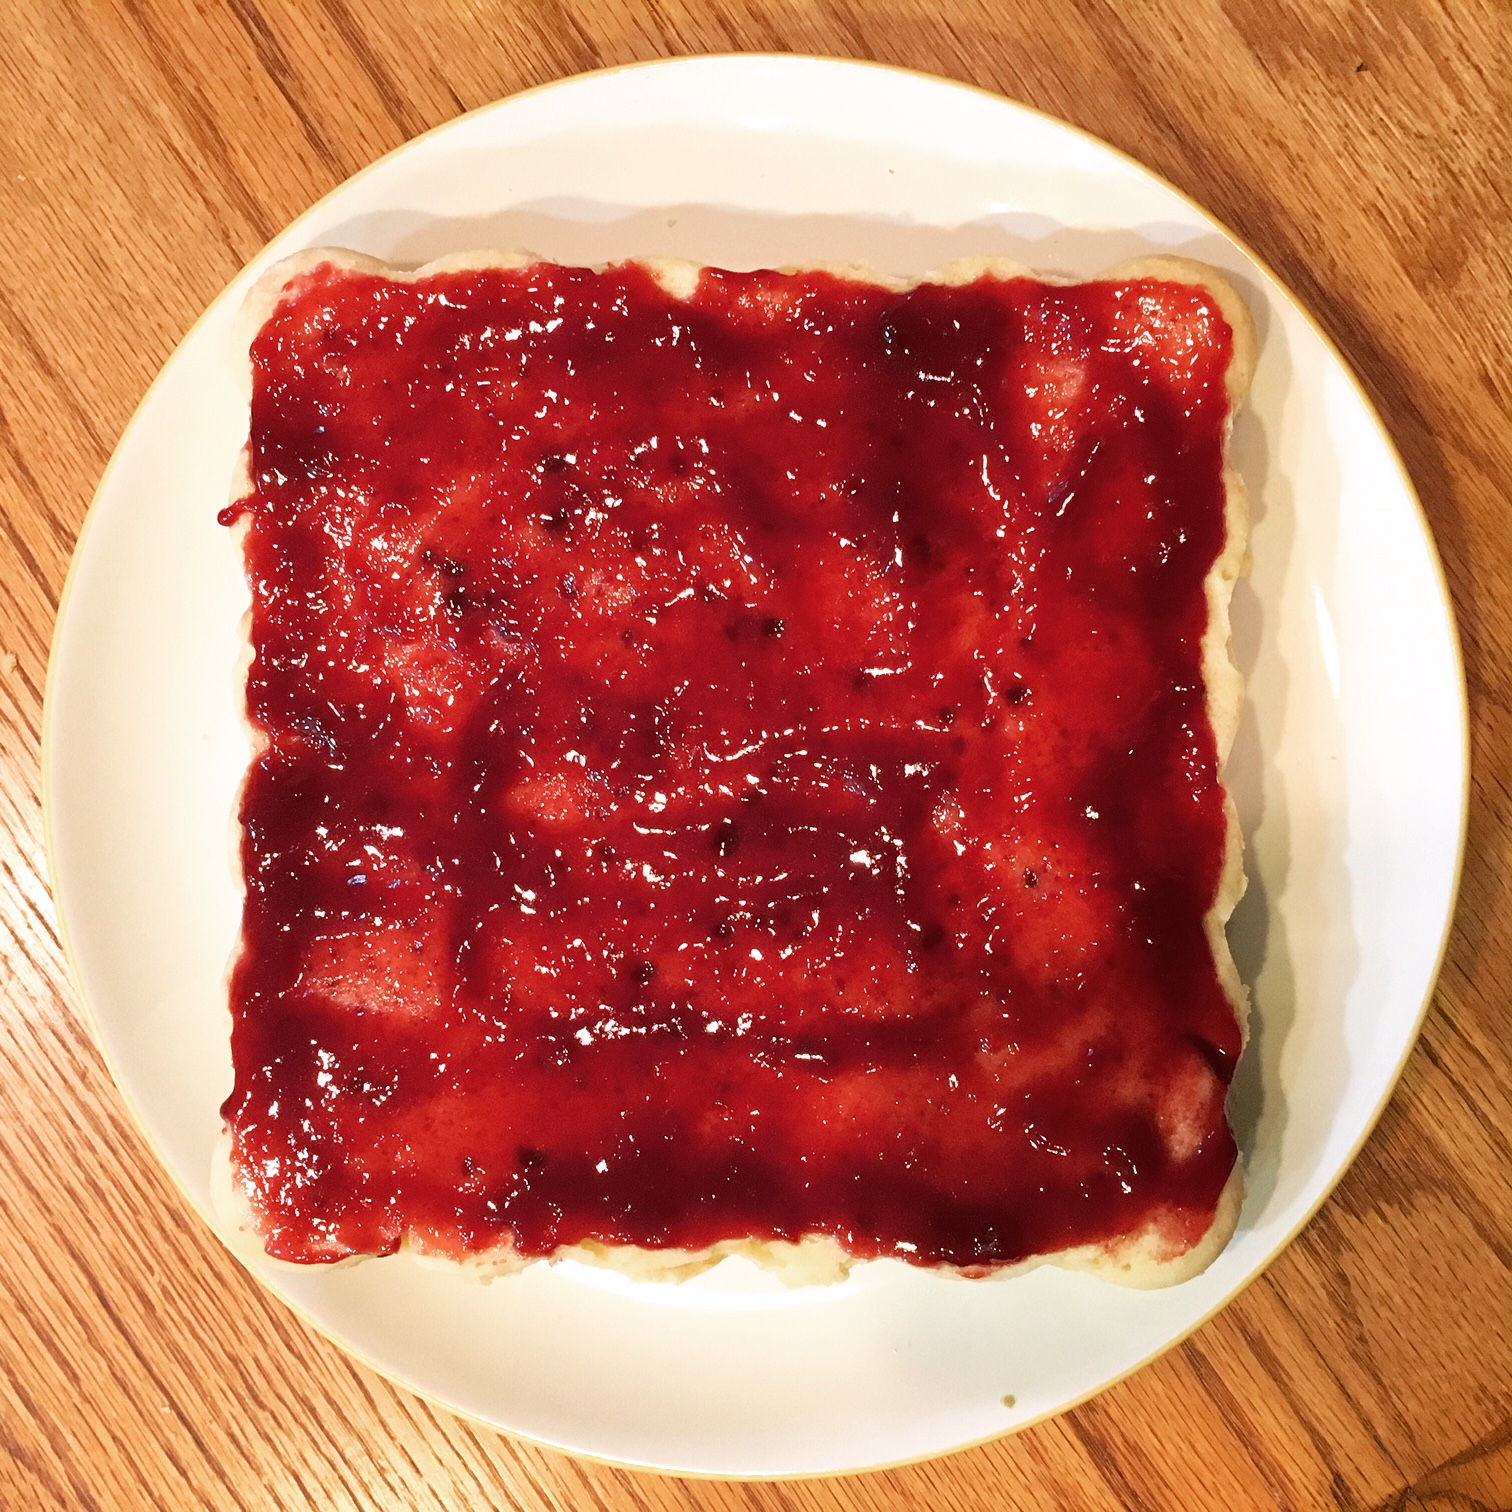
Then, I added the final layer - the pink layer, pressed gently and topped with the chocolate glaze.
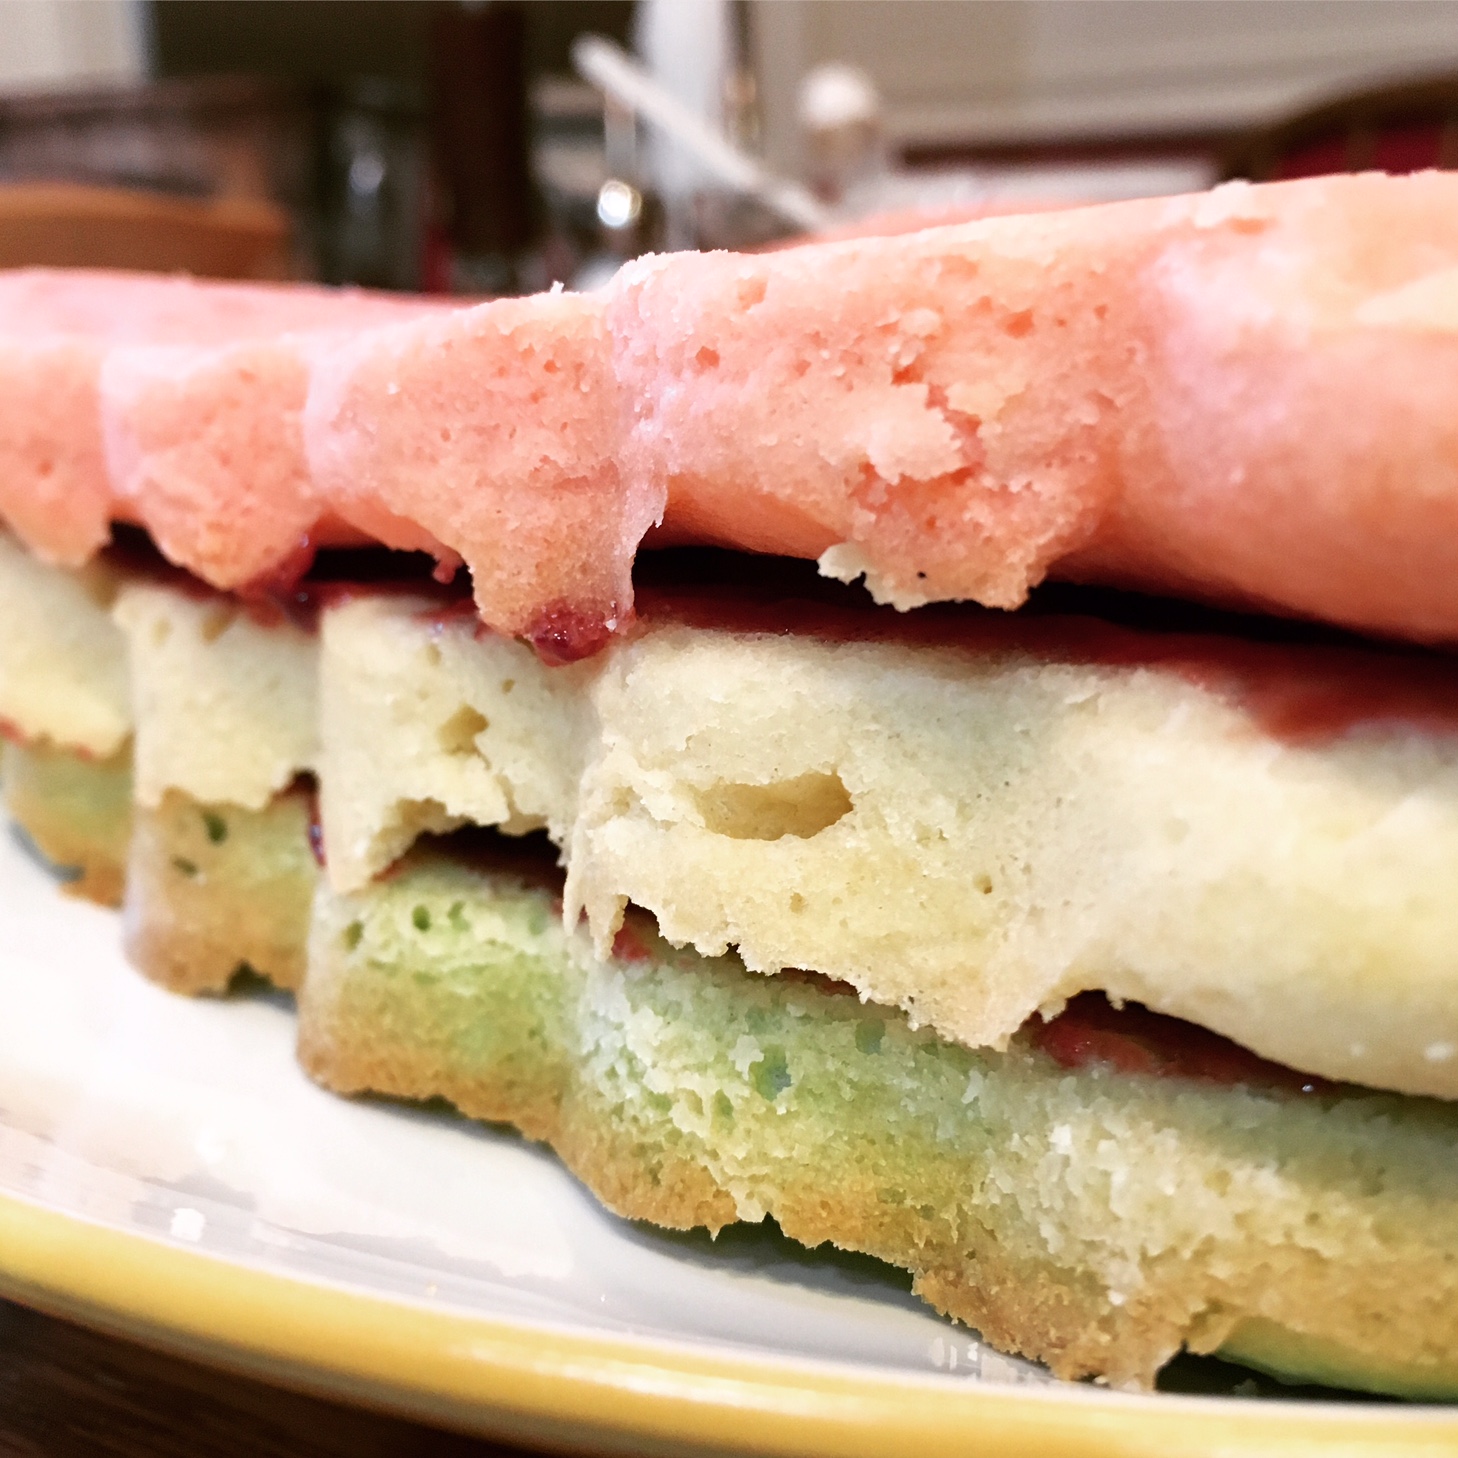
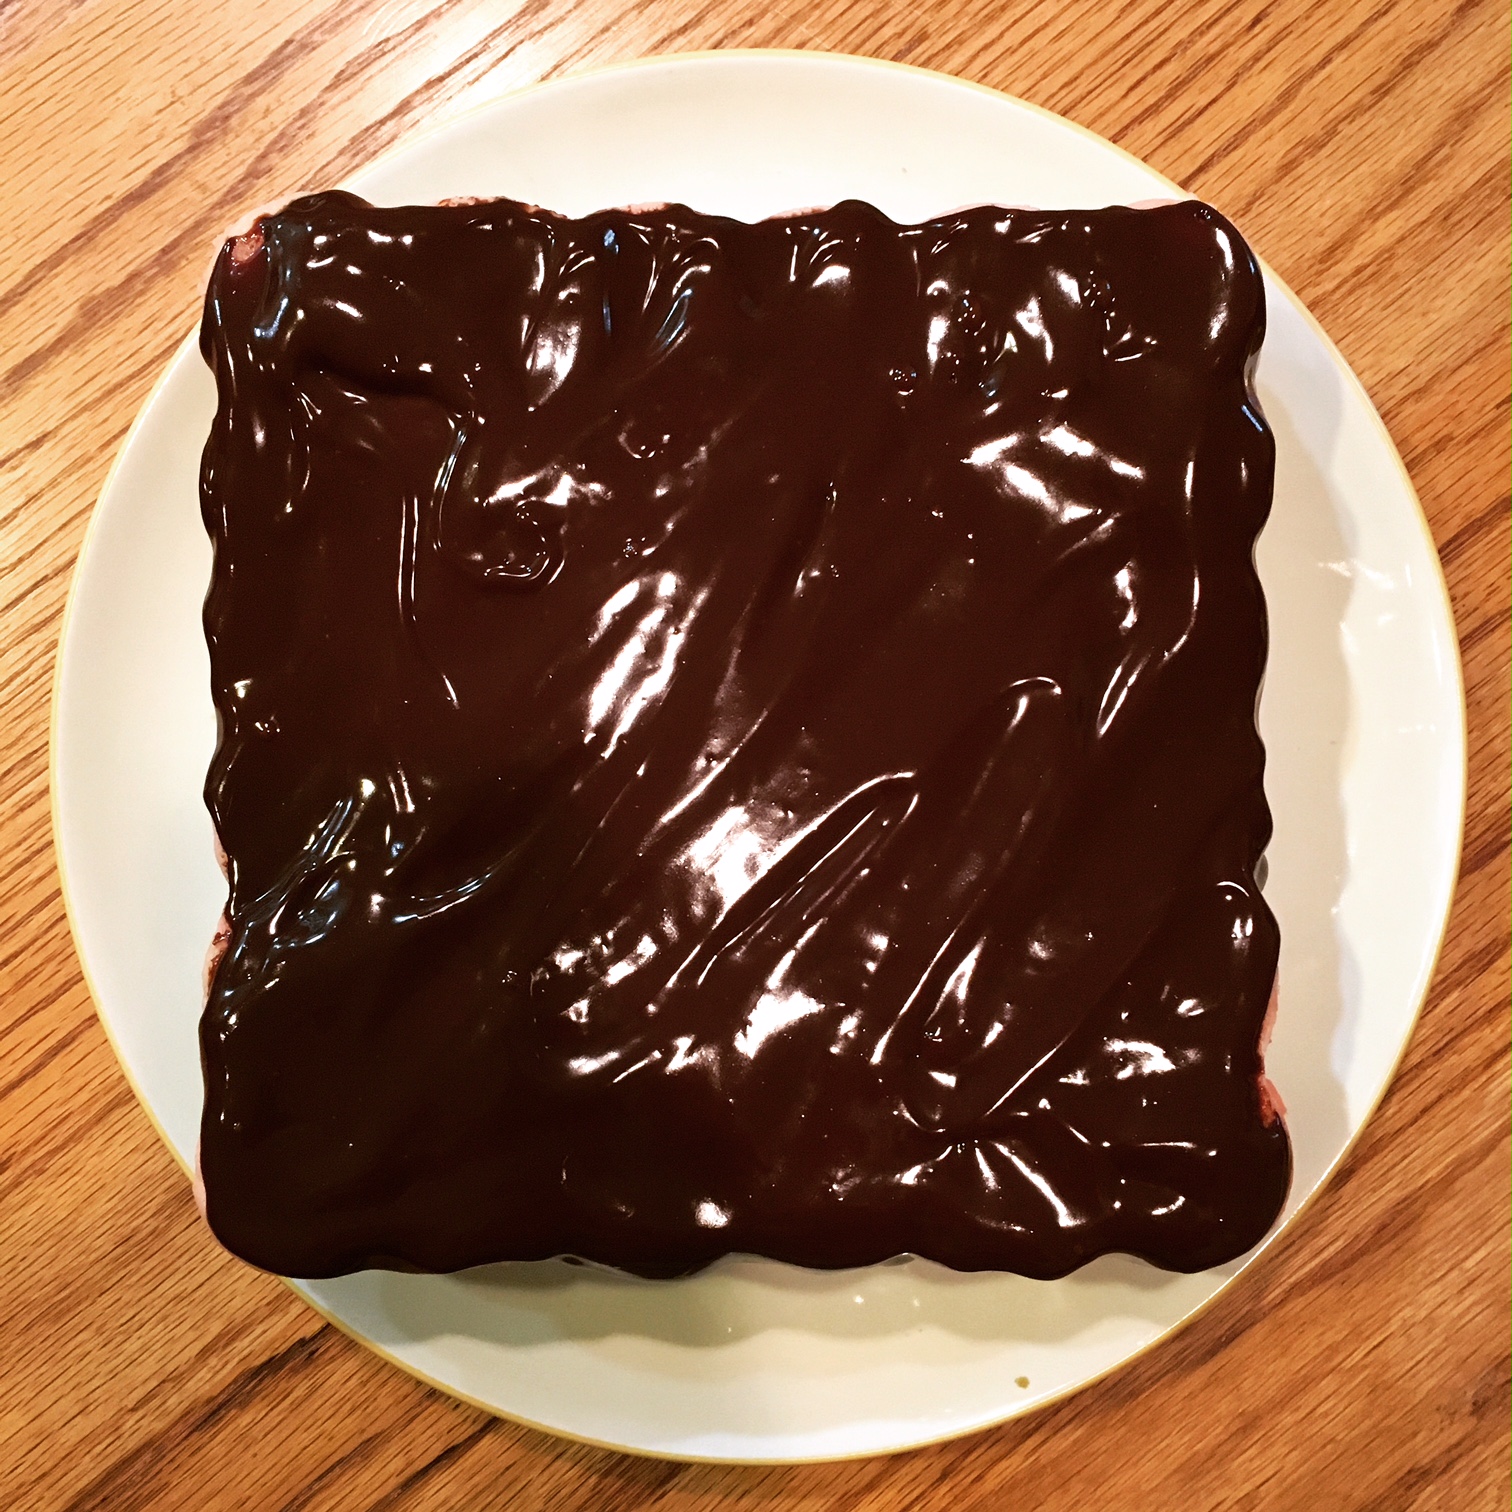
This does need to sit for about 30 more minutes, to make sure the glaze sets before slicing it into pieces, so I had to be patient. Once cooled, first order of business is to trim the edges and then they can be sliced, resulting in these little cookies as my final product.
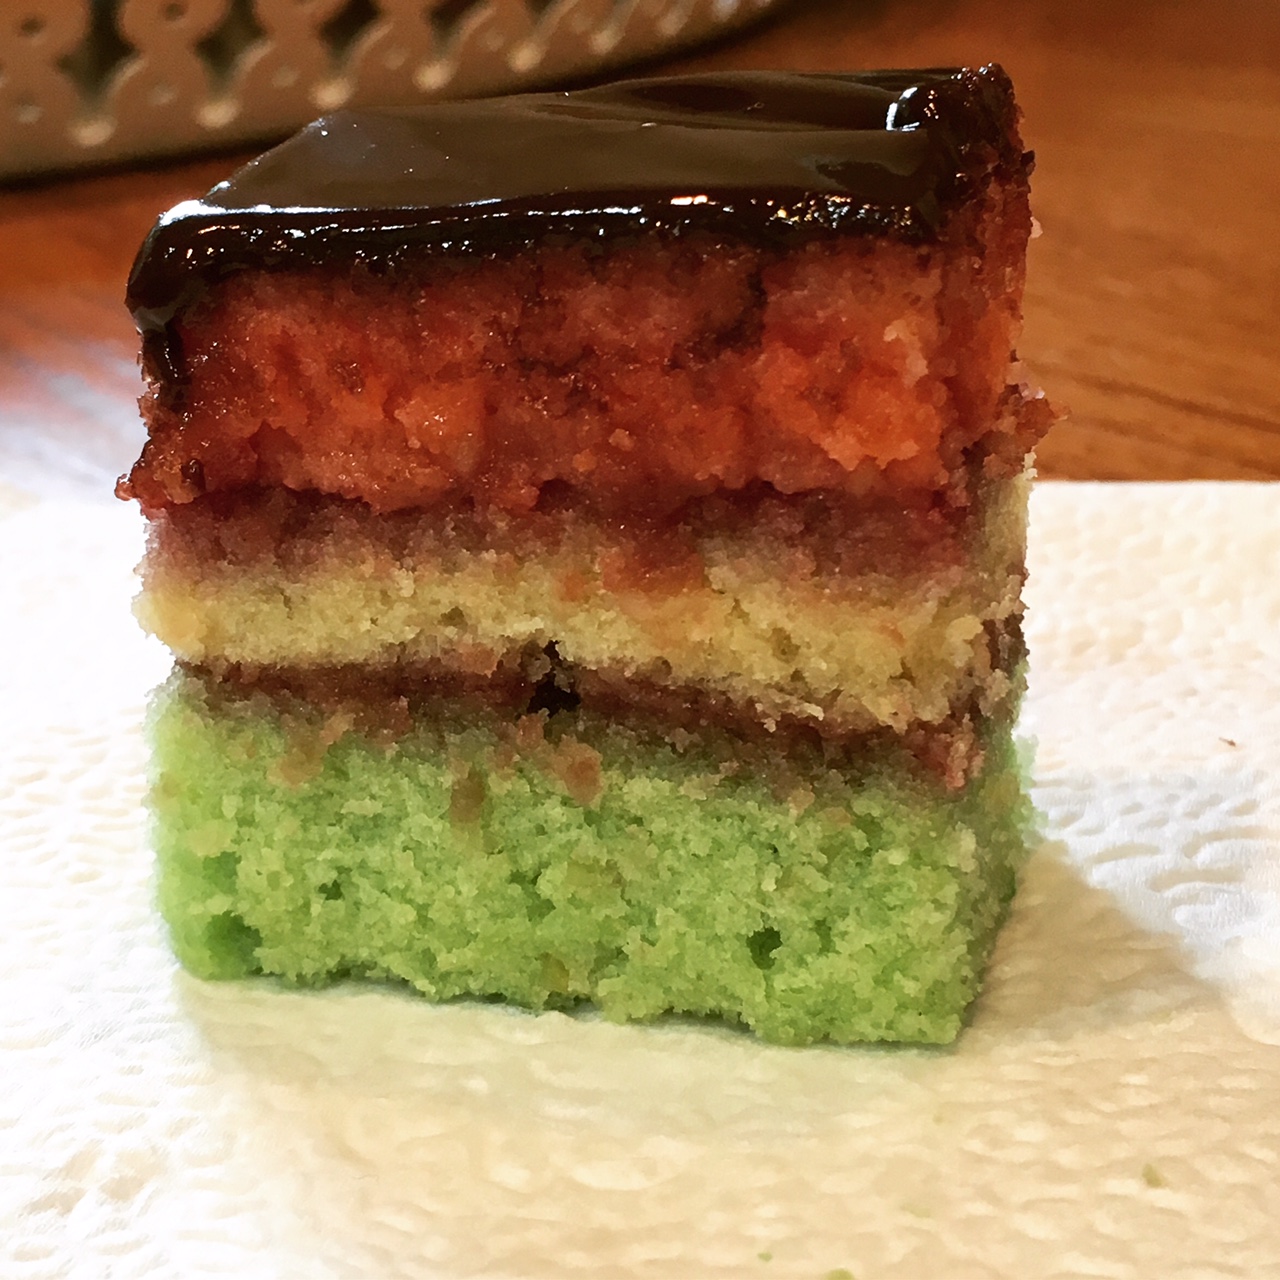
Mine turned out a bit thicker than I remember them being when I had eaten them in the past. They’re still delicious, but more than a mouthful’s worth of cookie - mine are better eaten with a fork, like a tiny cake. (Please see my notes below on pan size.) These are a quite cakelike cookie, and more delicious than I recall as well, so they’re definitely worth a try. Thank you so much to my friend, for sharing their recipe with me and the blog! I hope our novel’s Italian bakery owner would be proud.
Tri-Color Cookies (Italian Rainbow Cookies)
Ingredients
- 1 cup sugar
- 1 can/tube (8 oz) almond paste*
- 1 cup butter (no substitutions), softened
- 4 large eggs
- 2 cups flour
- 6 drops red food color
- 4 drops green food color
- ⅓ cup heavy cream
- 3 oz. semi-sweet baking chocolate, chopped
- Apricot or raspberry jam (seedless)
For assembly and the glaze:
Directions
- Lightly coat three 8x8** pans foil baking pans with vegetable cooking spray and dust with flour.
- In a food processor, pulse the sugar and almond paste until the almond paste is crumbled and broken into small pieces. Transfer the mixture to a large bowl.
- Beat in butter, scraping the bowl with a rubber spatula, until smooth. Beat in eggs, 1 at a time, blending well after each addition. Stir in flour.
- Divide batter evenly into 3 bowls. Tint 1 bowl of batter pink (food color amounts above are a guide and can be adjusted as needed to achieve correct color) and tint 1 bowl of batter light green. The last bowl will remain uncolored.
- Evenly spread each type of batter onto its own prepared pan. Bake for approximately 11 minutes, or until the top springs back when gently pressed with finger. Allow each pan to cool slightly before inverting onto a cooling rack.
- Meanwhile, make the glaze. Microwave the heavy cream and chocolate in a small bowl on high for 1 minutes. Stir until smooth. Let cool until slightly thickened, about 30 minutes.
- Heat the jam in a small saucepan on the stove, until it’s no longer gloopy.
- Once the layers have cooled for about 10-15 minutes, place green layer on a plate or serving tray. Brush the top with half of the heated jam. Top with the white layer and gently press. Brush remaining jam over the white layer and top with the pink layer, press gently.
- Spread cooled glaze over the top of the layered cookie. Let stand for at least 30 minutes so the glaze can set.
- With a serrated knife, trim the edges. Cut crosswise into six 2-inch wide strips. Cut each strip into 12 slices.
Notes:
*If you prefer to make your own almond paste, that’s what I did for a previous recipe. It’s really easy and leftovers can be frozen for up to 3 months. Use this recipe from Taste of Home.
**If you are doubling the recipe, use the larger foil pans, 11½ x 16½. However, if you still want to make only a single batch, I would recommend using 9x9 pans instead so the cookies are not quite as thick as mine ended up.
This post contains affiliate links. Full disclosure here.



Great post and thank you for taking part with me Give me a poke if you want to do it again
Those cookies certainly look yummy and I am sure you did the recipe justice.